
Introduction
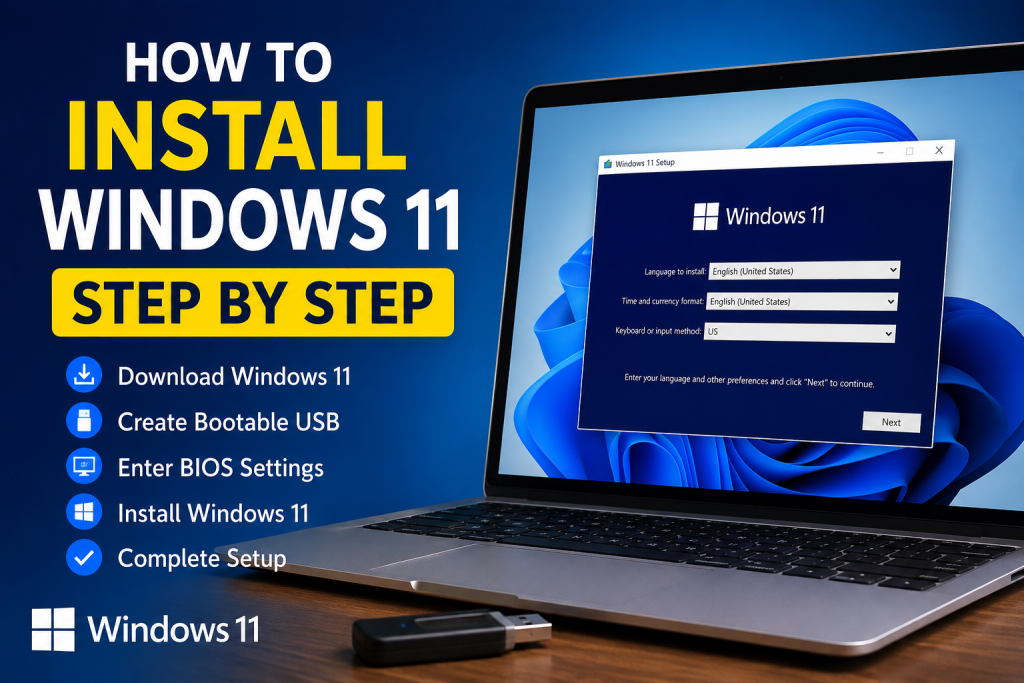
Easy Guide to Install Windows 11 Step by Step on PC. Learn to create a bootable USB, enter BIOS, install Windows, and fix setup errors easily
If you are searching for How to Install Windows 11 Step by Step, this complete guide will help you install Windows 11 easily on your PC or laptop. Windows 11 offers a modern design, better gaming performance, improved security, and smoother multitasking features. Many beginners think installing Windows is difficult, but by following this guide carefully, you can complete the installation process without errors.
Windows 11 is designed to improve speed, productivity, and overall user experience. Whether you want a fresh installation for gaming, work, or daily usage, learning How to Install Windows 11 Step by Step is very important for getting the best performance from your computer.
Requirements for How to Install Windows 11 Step by Step
Before starting the installation process, your system must meet Windows 11 requirements.
Minimum System Requirements
- 64-bit Processor
- 4GB RAM or higher
- 64GB Storage
- TPM 2.0
- Secure Boot enabled
- Internet connection
- 8GB USB Drive
Installing Windows 11 on an SSD is highly recommended because SSDs provide faster speed, better responsiveness, and improved boot time.
Backup Important Files Before Installation
Easy Guide to Install Windows 11 Step by Step
Before beginning How to Install Windows 11 Step by Step, back up important data including:
- Photos
- Videos
- Documents
- Games
- Software files
You can save files on:
- External hard drive
- USB drive
- Cloud storage
Backing up data prevents accidental file loss during installation.
Easy Guide to Install Windows 11 Step by Step
Download Windows 11 Official ISO File
To begin How to Install Windows 11 Step by Step, download the official Windows 11 installation files from Microsoft.
You can download:
- Windows 11 ISO
- Media Creation Tool
- Installation Assistant
Always use official Microsoft files for security and stability.
Create Bootable USB for Windows 11 Installation


6
Creating a bootable USB is one of the most important parts of How to Install Windows 11 Step by Step.
Steps to Create Bootable USB
- Insert 8GB USB drive
- Open Media Creation Tool
- Accept Microsoft terms
- Select:
- Language
- Edition
- Architecture
- Choose:
- USB Flash Drive
- Select your USB
- Wait for setup completion
After completion, your USB becomes bootable.
Enter BIOS Settings
Restart your PC and press:
- F2
- F12
- DEL
- ESC
depending on your motherboard manufacturer.
This opens BIOS settings.
Change Boot Priority
Inside BIOS:
- Open Boot Menu
- Set USB Drive as first boot device
- Save changes
- Restart computer
Now your PC will boot from the USB drive.
How to Install Windows 11 Step by Step Using Setup
After booting:
- Windows setup screen appears
- Select:
- Language
- Time
- Keyboard layout
- Click:
- Next
- Install Now
The installation process will begin.
Enter Product Key
You will see:
Activate Windows
Options:
- Enter product key
- Or click:
- “I don’t have a product key”
You can activate Windows later.
Select Windows 11 Edition
Choose:
- Windows 11 Home
- Windows 11 Pro
- Windows 11 Education
Then click Next.
Accept License Terms
Read Microsoft license agreement carefully.
Click:
- Accept
- Next
Select Installation Type
You will see:
- Upgrade Installation
- Custom Installation
For best performance choose:
Custom Installation
A clean installation removes junk files and improves speed.
Select Drive for Installation


Choose the drive where Windows 11 will be installed.
Options:
- Delete partition
- Format partition
- Create new partition
Usually:
Drive 0 Partition 1
Then click Next.
Windows 11 Installation Process
Now Windows will:
- Copy files
- Install features
- Install updates
- Restart automatically
This process usually takes:
- 10–40 minutes
depending on your hardware.
Complete Initial Windows Setup
After installation:
- Select region
- Connect WiFi
- Sign in using Microsoft account
- Create password
- Select privacy settings
Windows setup will complete automatically.
Install Important Drivers
After learning How to Install Windows 11 Step by Step, the next important step is installing drivers.
Install:
- GPU drivers
- Audio drivers
- WiFi drivers
- Motherboard drivers
Update Windows 11
Go to:
Settings → Windows Update
Install all updates to improve:
- Security
- Stability
- Performance
Regular updates keep Windows smooth and secure.
Common Errors While Installing Windows 11
TPM 2.0 Error
Enable TPM in BIOS.
Secure Boot Error
Enable Secure Boot settings.
USB Not Detecting
Try another USB port.
Installation Freezes
Recreate bootable USB.
Missing Drivers
Install official drivers from manufacturer websites.
Easy Guide to Install Windows 11 Step by Step
Benefits of Windows 11
Better Gaming
Supports:
- Auto HDR
- DirectStorage
- Better Game Mode
Improved Security
Easy Guide to Install Windows 11 Step by Step
Windows 11 includes:
- TPM 2.0
- Windows Defender
- Secure Boot
Modern Design
Windows 11 has:
- Cleaner interface
- Better animations
- Improved multitasking
Tips After Installing Windows 11
Easy Guide to Install Windows 11 Step by Step
- Remove startup apps
- Install antivirus
- Enable dark mode
- Keep storage clean
- Update drivers regularly
- Use SSD for better performance
These steps improve long-term speed and stability.
Internal Resources
You may also like:
how to install windows 11 step by step
Easy Guide to Install Windows 11 Step by Step
- windows 11 setup tutorial
- windows 11 bootable usb
- install windows 11 on pc
- windows 11 bios settings
Final Tips for How to Install Windows 11 Step by Step
Easy Guide to Install Windows 11 Step by Step
Before finishing, make sure:
- Drivers are installed
- Windows is activated
- Updates are completed
- Important software is installed
A properly configured Windows installation improves speed, gaming performance, and stability.
Easy Guide to Install Windows 11 Step by Step
Easy Guide to Install Windows 11 Step by Step