
Taking screenshots is one of the most useful features in Windows 11. Whether you want to save important information, capture an error message, create a tutorial, or share something with friends, screenshots make it easy.
The good news is that Windows 11 offers several built-in ways to capture your screen without installing any additional software.
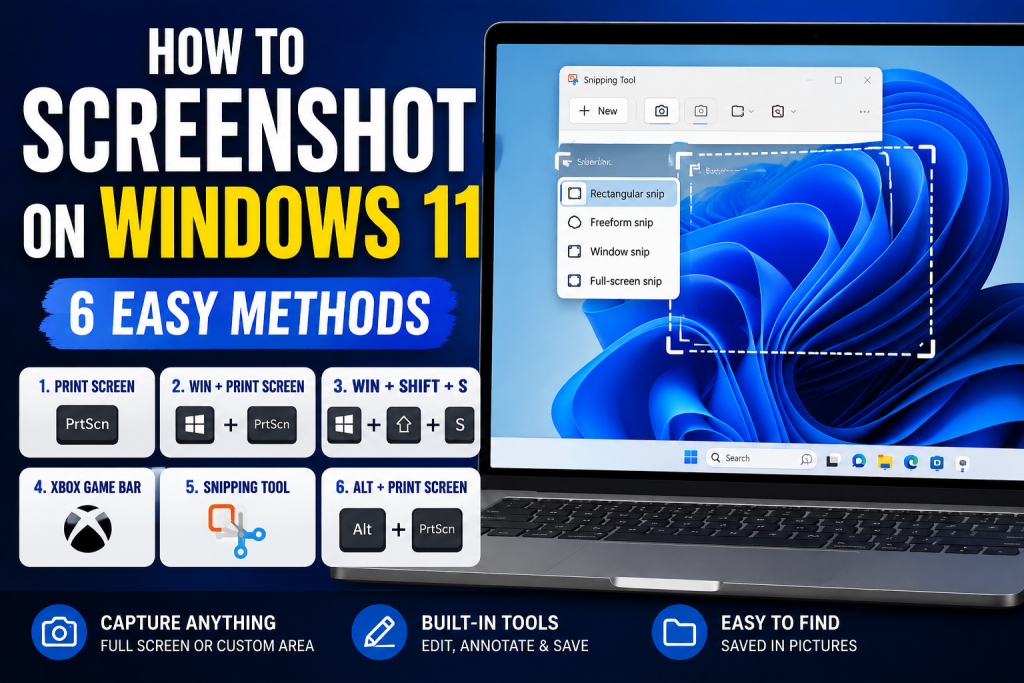
In this guide, you’ll learn how to screenshot on Windows 11 using keyboard shortcuts, the Snipping Tool, Xbox Game Bar, and other methods.
Why Take Screenshots on Windows 11?
Screenshots can be useful for many reasons:
- Save important information
- Capture error messages
- Create tutorials and guides
- Share conversations
- Record online receipts
- Save images and documents
- Troubleshoot technical issues
If you’re new to Windows 11, you may also find our guide on How to Install Windows 11 Step by Step helpful: https://how-to.cc/how-to-install-windows-11-step-by-step/
Method 1: Use the Print Screen (PrtScn) Key
The simplest way to take a screenshot is by using the Print Screen key.
Steps
- Locate the PrtScn key on your keyboard.
- Press the key once.
Windows will copy the entire screen to your clipboard.
To Save the Screenshot
- Open Paint.
- Press Ctrl + V.
- Click File > Save As.
- Choose a location and save the image.
Best For
- Quick screenshots
- Copying images into documents
- Sharing screenshots in chats
Method 2: Use Windows + Print Screen
This method automatically saves the screenshot.
Steps
- Press Windows + PrtScn.
Your screen will briefly dim, indicating that the screenshot has been captured.
Where Screenshots Are Saved
Open:
Pictures → Screenshots
The screenshot will automatically be saved as a PNG file.
Best For
- Frequent screenshot users
- Saving multiple screenshots quickly
- Organizing screenshots automatically
Method 3: Use Snipping Tool
The Snipping Tool is one of the best screenshot tools built into Windows 11.
Steps
- Press Windows + Shift + S.
- The screen will darken.
- Select one of the capture options.
Screenshot Modes
Rectangular Snip
Capture a selected rectangular area.
Freeform Snip
Draw any shape around the area you want to capture.
Window Snip
Capture a specific application window.
Full-Screen Snip
Capture the entire display.
After capturing, the screenshot will be copied to your clipboard and can be edited in the Snipping Tool.
Best For
- Detailed screenshots
- Tutorials
- Cropping specific areas
Method 4: Use Xbox Game Bar
Windows 11 includes Xbox Game Bar, which can capture screenshots while gaming.
Steps
- Press Windows + G.
- Open the Capture widget.
- Click the camera icon.
Alternatively, press:
Windows + Alt + PrtScn
Screenshot Location
Screenshots are saved in:
Videos → Captures
Best For
- Gaming screenshots
- Recording gameplay
- Capturing game achievements
Method 5: Use the Snipping Tool App
Windows 11 includes an updated Snipping Tool application.
Steps
- Open the Start Menu.
- Search for Snipping Tool.
- Launch the application.
- Click New.
- Select the area to capture.
You can then:
- Annotate screenshots
- Highlight content
- Crop images
- Save screenshots directly
Advantages
- Built-in editing tools
- Timer options
- Easy sharing
Method 6: Capture a Single Window
Sometimes you only need a screenshot of one application window.
Steps
- Click the window you want to capture.
- Press:
Alt + PrtScn
The active window is copied to your clipboard.
Save the Screenshot
- Open Paint.
- Press Ctrl + V.
- Save the file.
Best For
- Application tutorials
- Error messages
- Specific software windows
How to Find Saved Screenshots
If you’re unsure where your screenshots are saved, check these folders:
Windows + PrtScn Screenshots
Pictures → Screenshots
Xbox Game Bar Screenshots
Videos → Captures
Snipping Tool Screenshots
Choose your preferred save location manually.
How to Edit Screenshots
After taking a screenshot, you can edit it using:
- Paint
- Snipping Tool
- Photos App
You can:
- Crop images
- Add arrows
- Highlight important areas
- Blur sensitive information
- Add text annotations
Screenshot Tips for Better Results
To create professional-looking screenshots:
- Close unnecessary applications
- Remove personal information
- Use Window Snip for cleaner captures
- Crop unused areas
- Save images in PNG format for better quality
If your computer feels slow while using multiple applications, check out our guide on Best Way to Speed Up Laptop: https://how-to.cc/best-way-to-speed-up-laptop/
You can also learn more about your hardware by reading How to Check PC Specifications in Windows 11: https://how-to.cc/how-to-check-pc-specifications-in-windows-11/
Frequently Asked Questions
What is the fastest way to screenshot on Windows 11?
Press Windows + PrtScn to instantly capture and save your screen.
Where are screenshots saved in Windows 11?
Screenshots taken with Windows + PrtScn are saved in:
Pictures → Screenshots
How do I screenshot only one window?
Press Alt + PrtScn while the desired window is active.
Does Windows 11 have a built-in screenshot tool?
Yes. Windows 11 includes the Snipping Tool, which provides several screenshot options and editing features.
Final Thoughts
Learning how to screenshot on Windows 11 can save time and improve productivity. Whether you need a quick screen capture, a cropped screenshot, or a gaming screenshot, Windows 11 provides multiple built-in tools to get the job done.
For most users, the Snipping Tool offers the best balance of flexibility and ease of use. However, keyboard shortcuts like Windows + PrtScn remain the fastest option when you need to capture your screen quickly.
External Links (Official Sources)
- Microsoft Snipping Tool:
https://support.microsoft.com/windows/use-snipping-tool-to-capture-screenshots