
Windows 11 installation
Why Upgrade to Windows 11?
Windows 11 installation offers a sleek new design, improved security, and enhanced performance. Key benefits include:
- Modern, user-friendly interface
- Better gaming performance
- Advanced multitasking features
- Stronger security protections
- Faster updates
- Support for the latest hardware
- Improved battery life on laptops
Check Windows 11 System Requirements
Before you begin, make sure your PC meets these minimum specs:
- Processor: 1 GHz or faster with 2+ cores
- RAM: 4 GB or more
- Storage: 64 GB or more
- TPM: Version 2.0 enabled
- Graphics: DirectX 12 compatible
- Firmware: UEFI with Secure Boot
- Display: HD (720p)
What You Need Before Installation
- USB flash drive (8GB or larger)
- Stable Internet connection
- Backup of your important files
- Windows 11 ISO file — Download from the official Microsoft website For Windows 11 installation Hear – 👉 Download Windows 11 ISO from Microsoft
Step 1: Download the Windows 11 ISO File
- Visit the official Microsoft Windows 11 download page linked above.
- Select Windows 11 Disk Image (ISO).
- Choose your preferred language.
- Click Download and wait for the ISO file (5–6GB) to finish downloading.
Step 2: Create a Bootable Windows 11 USB
- Download and install Rufus (a free tool to create bootable USB drives).
- Insert your USB drive.
- Open Rufus, select your USB device.
- Click SELECT and pick the downloaded Windows 11 ISO file.
- Keep all default settings, then click START.
- Wait until Rufus finishes creating the bootable USB.
Step 3: Access BIOS or UEFI Settings
- Insert the bootable USB drive.
- Restart your PC.
- Press the BIOS key repeatedly during startup (usually F2, F10, F12, ESC, or DEL).
Step 4: Change Boot Order
- In BIOS, open the Boot menu.
- Set your USB drive as the first boot device.
- Save changes and exit BIOS.
- Your PC will restart and boot from the USB.
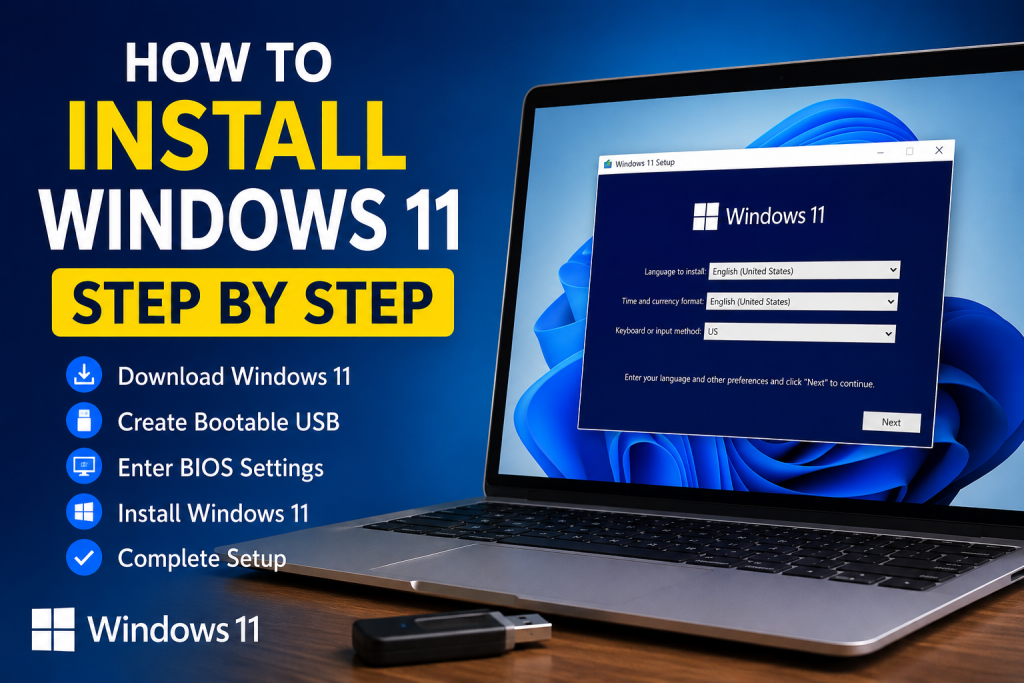
Step 5: Begin Windows 11 Installation
- When prompted, choose language, time & currency format, and keyboard layout.
- Click Next, then Install Now.
Step 6: Product Key Entry
- Enter your Windows product key OR select I don’t have a product key to activate later.
- Click Next.
Step 7: Choose Windows Edition
- Select the edition matching your license (Home, Pro, Education).
- Click Next.
Step 8: License Agreement
- Read and accept the Microsoft Software License Terms.
- Click Next.
Step 9: Installation Type
- Choose Custom: Install Windows only (Advanced) for a clean install.
Step 10: Select and Format Drive
- Select the drive where Windows will be installed.
- Click Format if doing a clean install (WARNING: this erases all data).
- Click Next.
Step 11: Installing Windows 11
- Windows will copy files, install features, configure settings, and update.
- This can take 15–45 minutes. Your PC may restart multiple times.
Step 12: Initial Setup
- Choose region, keyboard layout, and connect to the internet.
- Sign in with your Microsoft account or create an offline account.
- Follow the on-screen prompts.
Step 13: Create User Account
- Enter username, password, and security questions.
- Click Next.
Step 14: Privacy Settings
- Review and adjust privacy options like Location Services, Diagnostic Data, and Advertising ID.
Step 15: Finish Setup
- Windows will finalize settings and prepare your desktop.
- After a moment, your Windows 11 desktop will appear!
- Congratulations! You have successfully installed Windows 11.
Final Tips for Best Performance
- Install Windows 11 on an SSD for speed.
- Keep Windows and drivers up to date.
- Disable unnecessary startup programs.
- Use Storage Sense to clear temporary files regularly.
- Install reputable antivirus software.
If you encounter issues like TPM 2.0 or Secure Boot errors, check your BIOS settings to enable these features.
Ready to upgrade? Get started with the official Microsoft download here:
👉 https://www.microsoft.com/software-download/windows11
Feel free to ask if you want help with any specific part of the process or troubleshooting!
Frequently Asked Questions (FAQs)
Q: Is Windows 11 free?
A: Yes, most eligible Windows 10 users can upgrade to Windows 11 for free. For more tips and guides, visit how-to.cc.
Q: How long does the installation take?
A: Typically, installation takes between 20 and 60 minutes, depending on your hardware. Check out more detailed guides on how-to.cc.
Q: Can I install Windows 11 without an internet connection?
A: Yes, but Microsoft recommends connecting to the internet for updates and account setup. Find more helpful articles at how-to.cc.
Q: Will installing Windows 11 delete my files?
A: A clean installation will erase all data on the selected drive, so back up important files before installing. Need backup tips? Visit how-to.cc.
Q: What if my PC doesn’t meet Windows 11 requirements?
A: You can check your PC’s readiness and explore workarounds or alternatives at how-to.cc.
For further questions and helpful tutorials, explore the full range of how-to guides at how-to.cc.