Connecting multiple external monitors to a Linux machine can sometimes feel like solving a complex puzzle. If your docking station or USB adapter uses DisplayLink technology, it won’t work perfectly out of the box on most Linux distributions. You need to install proprietary drivers and a specific kernel module to make the displays light up.
If you are trying to get a DisplayLink video adapter working with Ubuntu, you are in the right place. The process requires running a few terminal commands, managing kernel modules, and ensuring your display server is configured correctly.
This guide will walk you through the entire process, from downloading the official drivers to troubleshooting common black screen issues.
Quick Facts
| Parameter | Details |
| Time Required | 15 – 20 Minutes |
| Difficulty Level | Intermediate |
| Tools Needed | Ubuntu OS (20.04, 22.04, or 24.04), Active Internet Connection, Terminal Access |
| Hardware | DisplayLink-enabled USB Adapter or Docking Station |
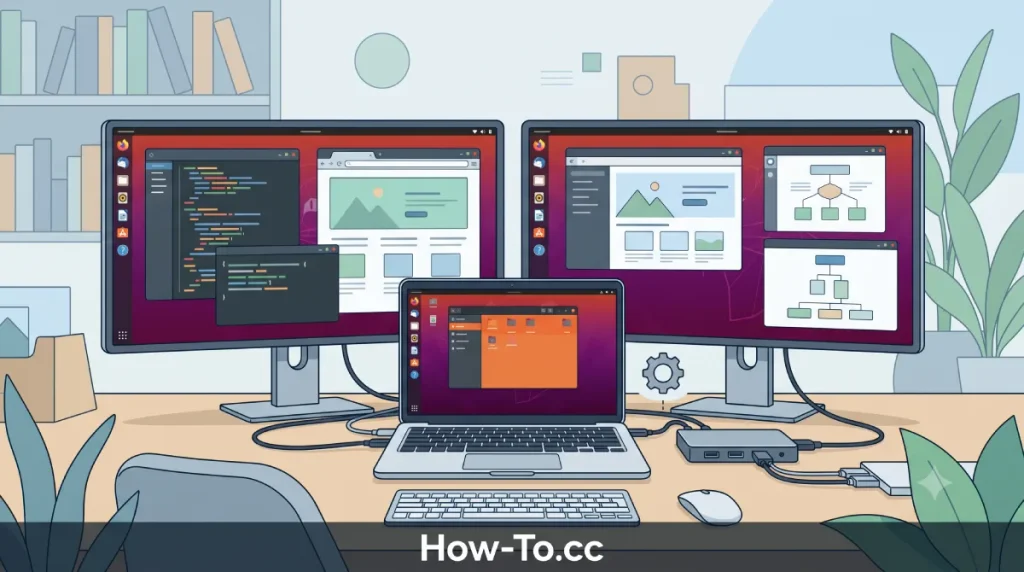
Understanding DisplayLink on Linux
DisplayLink technology allows you to connect multiple displays using standard USB ports (USB-A or USB-C). Unlike native DisplayPort or HDMI Alt Mode, DisplayLink compresses video data and sends it over USB. A chip inside the adapter then decompresses the signal.
On Windows, these drivers install automatically in the background. On Ubuntu, the process requires two primary components:
- The DisplayLink Driver: A proprietary piece of software provided by Synaptics (the company behind DisplayLink).
- The EVDI Module: The Extensible Virtual Display Interface. This is an open-source kernel module that allows the operating system to recognize the USB video feed as a standard monitor.
Both of these must communicate smoothly with your Linux kernel for your screens to function without tearing or lag.
Pre-Installation Checklist
Before installing any drivers, you must prepare your Ubuntu environment. Installing kernel modules on an outdated system can lead to broken packages and broken visual interfaces.
Update Your System Packages
Always start with a fresh system state. Open your terminal application and update your package lists. Upgrading ensures that your Linux kernel headers match the current system requirements.
Type the following command into your terminal:
sudo apt update && sudo apt upgrade -yLet the process finish entirely. If a new kernel was installed during this upgrade, restart your computer before proceeding to the next steps.
Check Your Secure Boot Status
Ubuntu machines with UEFI Secure Boot enabled require drivers to be digitally signed. The Extensible Virtual Display Interface (EVDI) module is a third-party kernel driver.
If Secure Boot is active, your system might block the EVDI module from loading. You will either need to sign the driver manually (which is highly complex) or temporarily disable Secure Boot in your BIOS/UEFI settings.
You can check your Secure Boot status by typing:
mokutil --sb-state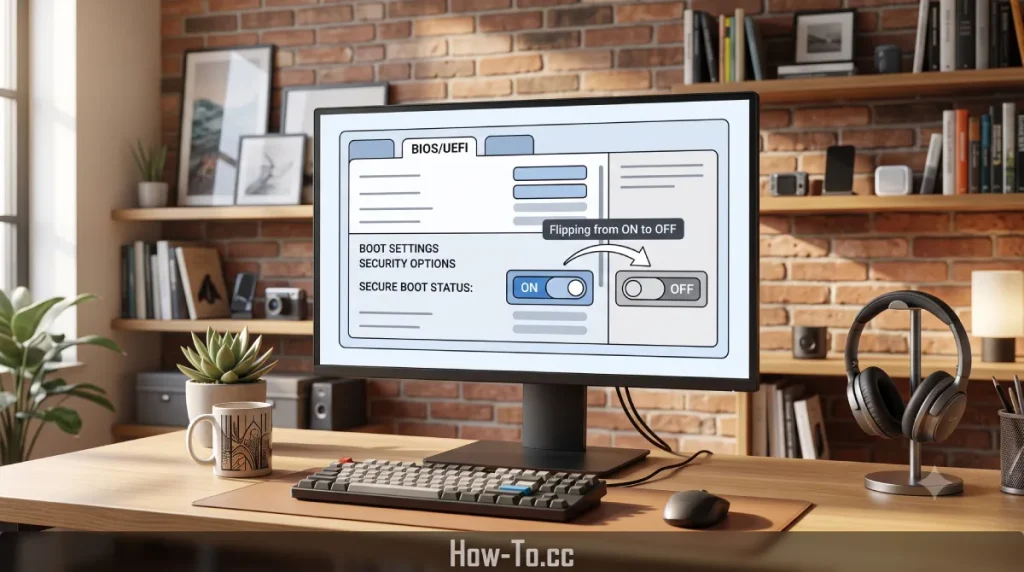
Method 1: Installing via the Official DisplayLink Script
The most reliable way to get a DisplayLink video adapter working with Ubuntu is by using the official installer script provided by Synaptics. This script automatically handles dependencies and compiles the EVDI module for your specific kernel.
Step 1: Download the Official Driver
Navigate to the official Synaptics DisplayLink download page for Ubuntu. Download the latest .zip file available for your specific Ubuntu version (usually LTS versions like 20.04, 22.04, or 24.04).
Save the downloaded file directly into your Downloads directory for easy access via the terminal.
Step 2: Unzip the Installation File
Open your terminal and navigate to the directory where you saved the download. You need to extract the .run file from the zipped archive.
Execute the following commands:
cd ~/Downloads

unzip DisplayLink USB Graphics Software for Ubuntu*.zip
Step 3: Make the Script Executable
Linux systems protect you from accidentally running malicious scripts. You must manually grant execution permissions to the .run file you just extracted.
Run this command, replacing the filename with your exact extracted version:
chmod +x displaylink-driver-XXXX.runStep 4: Install Dependencies (DKMS)
The DisplayLink driver requires Dynamic Kernel Module Support (DKMS). DKMS ensures that the EVDI module is automatically rebuilt whenever Ubuntu installs a new kernel update.
Install the required support packages by running:
sudo apt install dkms libdrm-devStep 5: Run the Installer
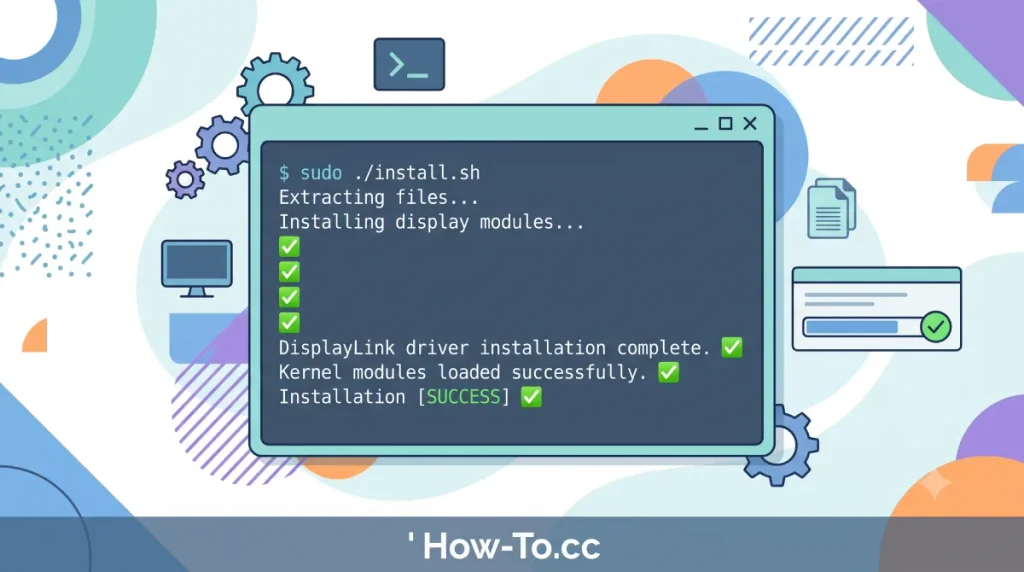
Now you can execute the main installation script. This process will require administrator privileges and might take a few minutes to compile the EVDI module.
sudo ./displaylink-driver-XXXX.runWatch the terminal output carefully. You should see messages indicating that the EVDI module was successfully built and installed.
Method 2: Installing via the APT Repository (Alternative)
If you prefer managing all your software through Ubuntu’s package manager, the community maintains an open-source installer that pulls the latest EVDI modules and DisplayLink software automatically.
Step 1: Clone the GitHub Repository
A popular community repository automates the heavy lifting. Open your terminal and clone the repository using git. If you do not have git installed, type sudo apt install git first.
git clone [https://github.com/AdnanHodzic/displaylink-debian.git](https://github.com/AdnanHodzic/displaylink-debian.git)Step 2: Navigate and Execute
Move into the newly created folder and run the provided installation script.
cd displaylink-debian

sudo ./displaylink-debian.sh
Step 3: Follow the On-Screen Prompts
The script will present a stylized terminal menu. It will automatically detect your Debian/Ubuntu version, download the appropriate binaries from Synaptics, and install the EVDI module.
Select the “Install” option and wait for the process to complete.
Configuring Display Servers: X11 vs Wayland
Ubuntu uses display servers to manage what you see on your screen. Historically, Ubuntu used X11 (Xorg). Newer versions (like 22.04 LTS and 24.04 LTS) default to Wayland.
DisplayLink drivers interact differently with these two display servers.
DisplayLink on X11
If you are running X11, your DisplayLink monitors should light up immediately after restarting your system and plugging in the USB adapter.
X11 handles screen rendering efficiently with DisplayLink, and you will likely experience smooth frame rates.
DisplayLink on Wayland
Wayland support for DisplayLink is improving, but it can still be buggy. Users often report lower frame rates, mouse cursor lag, or complete black screens when using Wayland.
If you plug in your DisplayLink dock and the screens remain blank, switch back to X11.
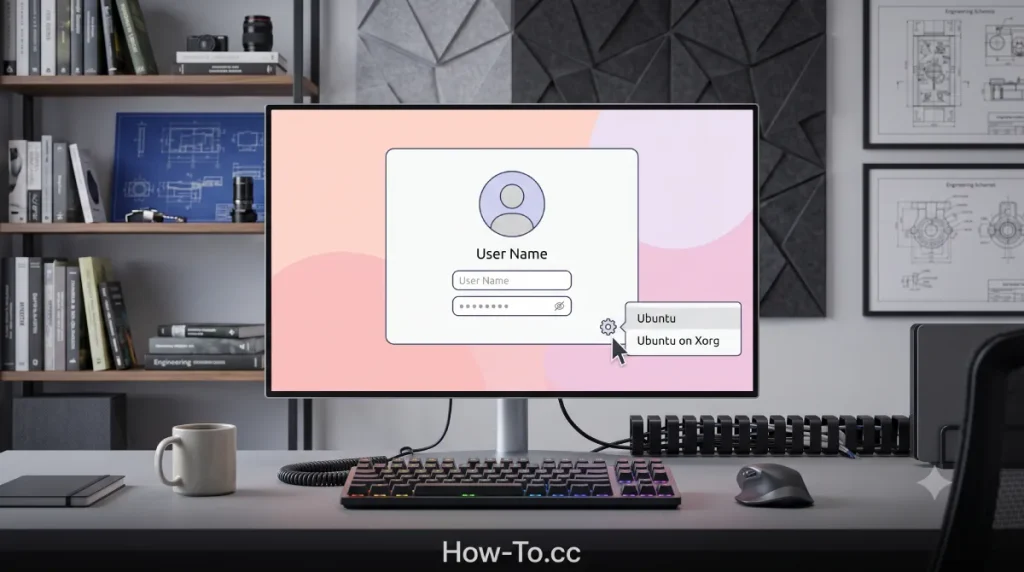
How to switch to Xorg (X11):
- Save your work and log out of your Ubuntu user account.
- On the login screen, click your username.
- Before typing your password, look for a small gear icon in the bottom-right corner.
- Click the gear and select “Ubuntu on Xorg”.
- Enter your password and log in.
Advanced Troubleshooting
Even with a perfect installation, Linux hardware compatibility can be unpredictable. Here are the most common issues users face when trying to get a DisplayLink video adapter working with Ubuntu, along with their solutions.
Issue 1: External Monitor is Black but Detected
Sometimes the Ubuntu display settings will show your secondary monitor, but the physical screen remains completely black.
This usually points to a rendering issue with the PageFlip feature in the X11 configuration.
Solution:
Open your terminal and create a specific Xorg configuration file for DisplayLink.
sudo nano /usr/share/X11/xorg.conf.d/20-displaylink.confPaste the following text into the file:
Plaintext

Section "OutputClass"
    Identifier  "DisplayLink"
    MatchDriver "evdi"
    Driver      "modesetting"
    Option      "PageFlip" "false"
EndSection
Save the file (Ctrl+O, Enter, Ctrl+X) and reboot your system.
Issue 2: High CPU Usage and System Lag
Because DisplayLink compresses video over USB, your CPU does the heavy lifting. High-resolution monitors (like 4K displays) require massive processing power.
Solution:
If your mouse is lagging and your CPU fans are loud, reduce the refresh rate of the external monitor to 30Hz instead of 60Hz. Open the standard Ubuntu Settings > Displays, select the DisplayLink monitor, and lower the refresh rate.
Alternatively, plug the adapter into a high-speed USB 3.0 port (blue port) or a USB-C Thunderbolt port, rather than an older USB 2.0 port.
Issue 3: Driver Breaks After a System Update
This is the most common frustration for Ubuntu users. When Ubuntu updates its Linux kernel, the EVDI module might fail to compile against the new headers, causing the external monitors to stop working abruptly.
Solution:
You need to uninstall the current DisplayLink driver and reinstall it using the latest version. Always check the Synaptics website for a driver release that supports your exact kernel version.
Issue 4: USB Device Not Recognized
If the adapter isn’t showing up in your system at all, verify the hardware connection. Run the lsusb command in your terminal. Look for a device manufactured by “DisplayLink”.
If it does not appear on the list, you might have a faulty cable, a dead adapter, or a dead USB port on your motherboard.
Updating and Uninstalling DisplayLink Drivers
Keeping your system clean is highly recommended. If you buy a new laptop or switch to a native USB-C DisplayPort dock, you should remove the DisplayLink drivers to prevent kernel module conflicts.
To completely uninstall the official Synaptics driver, run the provided uninstallation tool from the terminal:
sudo displaylink-installer uninstall
If you used the community Debian script, navigate to your cloned repository folder and run:
sudo ./displaylink-debian.sh –uninstall
After running either command, restart your computer to apply the changes to your kernel.
Essential Hardware Compatibility Guidelines
Not all USB video adapters use DisplayLink technology. Many cheap USB-C hubs rely solely on “DisplayPort Alternate Mode.”
| Feature | DisplayLink Technology | DisplayPort Alt Mode |
| Connection Port | Works on USB-A, USB-C, USB 3.0 | Requires specific USB-C or Thunderbolt |
| Driver Required | Yes (Synaptics / EVDI) | No (Native Linux Support) |
| System Overhead | High (Uses CPU to compress video) | Low (Uses GPU directly) |
| Best For | Adding monitors to older laptops without video ports | Modern gaming and high-resolution design |
Always check the packaging of your docking station or adapter. Look for the official “DisplayLink Plug and Display” logo. If it doesn’t have this logo, the drivers provided in this guide will not make the device work.
FAQs
1. Does DisplayLink work on Ubuntu 24.04 LTS?
Yes. Synaptics regularly updates its drivers to support the latest Long Term Support (LTS) releases of Ubuntu. Always download the most recent version of the .run file from their official website to ensure compatibility with newer kernels.
2. Why is my mouse lagging on my DisplayLink monitor?
Mouse lag is typically caused by high CPU usage or rendering conflicts with the Wayland display server. Switch your login session to Xorg (X11) and plug the adapter into a high-speed USB 3.0 or USB-C port to improve responsiveness.
3. Do I need to disable Secure Boot to use DisplayLink?
If you are using DKMS to build the EVDI kernel module locally, Ubuntu might block the module if Secure Boot is enabled, because it is an unsigned third-party driver. You will either need to manually sign the EVDI module or temporarily disable Secure Boot in your system BIOS.
4. Can I use DisplayLink for gaming on Linux?
It is not recommended. DisplayLink uses your CPU to compress video and send it over a USB data connection. This introduces slight latency and significantly reduces frame rates, making it unsuitable for heavy 3D gaming. It is best used for coding, reading, and office work.
5. How do I fix the “DKMS error” during installation?
A DKMS error usually means your system is missing the necessary files to compile kernel modules. Ensure you have run sudo apt update and installed the prerequisites by running sudo apt install dkms build-essential linux-headers-generic.
If you successfully followed these steps, you should now have a fully functional multi-monitor setup. Having reliable screen space makes programming, writing, and researching on Linux a much smoother experience.
Do you have any specific error codes showing up in your terminal? Drop a comment below or share this guide with other Linux users who might be struggling with their display configurations!