If you are developing Java applications or managing legacy enterprise software, a robust build tool is an absolute necessity. While modern environments often rely on Maven or Gradle, Apache Ant remains a powerhouse in the development world. It provides incredible flexibility through XML-based build files, allowing you to compile code, run unit tests, and package your final deliverables into JAR or WAR files automatically.
When you need to install Ant on Linux, you have multiple pathways to choose from. You can use your distribution’s native package manager for a rapid setup, or you can perform a manual binary installation to guarantee you have the latest available version. A manual setup also ensures you understand exactly where your software resides on the file system and how your environment variables function.
This comprehensive guide will walk you through the entire process. We will cover verifying your Java installation, downloading the correct binaries, configuring your system paths, and successfully running your very first build file.
Quick Facts
- Time Required: 15 to 20 Minutes
- Difficulty Level: Intermediate
- Tools Needed: Linux Terminal, Sudo/Root privileges, a text editor (Nano/Vim), and an active internet connection.
Understanding Apache Ant and Its Role
Apache Ant (Another Neat Tool) was introduced in early 2000 as a replacement for the traditional Unix make utility. The primary issue with make was its reliance on shell-specific commands, which meant a build script written on a Linux machine might fail completely on a Windows machine.
Ant solved this by using XML (eXtensible Markup Language) to describe the build process. Because XML is platform-independent, and Ant itself is written entirely in Java, an Ant build script behaves identically regardless of the underlying operating system.
The software operates using “targets” and “tasks.” A target is a specific phase of your deployment (like “compile” or “clean”), and tasks are the individual actions required to complete that phase (like copying files or creating directories).
Apache Ant vs. Modern Alternatives
If you are new to Java development, you might wonder why you should learn Ant instead of newer tools. Understanding the differences helps you choose the right tool for your specific project architecture.
| Feature | Apache Ant | Apache Maven | Gradle |
| Configuration Format | XML | XML | Groovy / Kotlin DSL |
| Flexibility | Extremely High (Procedural) | Low (Convention over Configuration) | High (Code-based) |
| Dependency Management | Requires external tool (Ivy) | Built-in and highly structured | Built-in and highly customizable |
| Best Used For | Legacy enterprise systems and highly customized build processes | Standardized Java projects requiring predictable structures | Large, multi-project enterprise applications |
Prerequisite: Installing the Java Development Kit (JDK)
Because Apache Ant is written in Java, it absolutely cannot run without a Java environment present on your Linux machine. Furthermore, because Ant is designed to compile Java code, a simple Java Runtime Environment (JRE) is insufficient. You must install the full Java Development Kit (JDK).
Step 1: Check for Existing Java Installations
Before installing anything new, check if your system already has a JDK configured. Open your terminal and type the following command:
java -version
If the terminal returns a message stating “command not found,” your system is completely clean. If it returns a version number, look closely at the output. You need a version that matches your project requirements (commonly Java 8, 11, 17, or 21).
You must also verify that the Java compiler is present by typing:
javac -version
Step 2: Install OpenJDK
If you need to install Java, the open-source implementation (OpenJDK) is the easiest and most widely supported option across all Linux distributions.
For Ubuntu and Debian-based systems:
Update your package index and install the default JDK package.
sudo apt update
sudo apt install default-jdk -y
For CentOS, RHEL, and Fedora-based systems:
Use the DNF or YUM package manager to grab the latest Java 11 or Java 17 release.
sudo dnf install java-17-openjdk-devel -y
Once the installation finishes, run the java -version command again to confirm the system recognizes the newly installed framework.

Method 1: Installing via the Linux Package Manager
The fastest way to get Apache Ant running is to leverage your distribution’s official software repositories. The package manager handles downloading the files, placing them in the correct system directories, and automatically configuring your environment variables.
The only drawback to this method is version control. Official Linux repositories prioritize stability over cutting-edge features. The version of Ant available through apt or dnf might be several years old. If your project specifically demands the absolute latest release of Apache Ant, you should skip to Method 2.
Installation on Ubuntu/Debian
To install the package via APT, simply run the following command in your terminal:
sudo apt update
sudo apt install ant -y
Installation on CentOS/RHEL
To install the package via DNF or YUM, run:
sudo dnf install ant -y
After the terminal finishes downloading and unpacking the software, verify the installation by typing:
ant -version
The output should display the Apache Ant version number and the date it was compiled. If you see this message, you are ready to start building your projects.
Method 2: Manual Binary Installation (Recommended)
Performing a manual installation gives you total control over the software version and directory structure. This method is highly recommended for enterprise environments where strict version parity across multiple servers is required.
In this method, we will download the raw binary files directly from the Apache Software Foundation, extract them into the /opt directory, and manually configure the Linux execution path.
Step 1: Download the Apache Ant Archive
Navigate to the official Apache Ant download page in your web browser to find the latest .tar.gz release. Copy the download link address.
Alternatively, you can pull the file directly into your terminal using the wget command. Move into your temporary directory first to keep your file system clean.
cd /tmp
wget [https://dlcdn.apache.org//ant/binaries/apache-ant-1.10.14-bin.tar.gz](https://dlcdn.apache.org//ant/binaries/apache-ant-1.10.14-bin.tar.gz)
(Note: The version number in the URL above will change as new releases are published. Always verify the current version on the Apache website).
Step 2: Extract the Binary Archive
The file you downloaded is a compressed tarball. You need to extract its contents using the tar command. We will use the xf flags to extract the files silently.
tar -xf apache-ant-*-bin.tar.gz
If you list the contents of your /tmp directory now, you will see a new uncompressed folder named something similar to apache-ant-1.10.14.
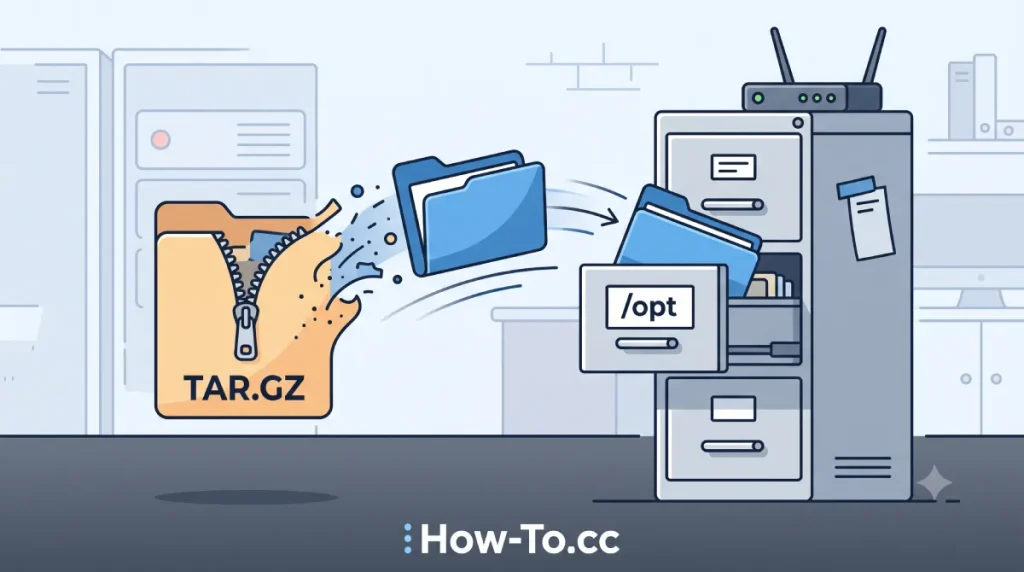
Step 3: Move to the /opt Directory
In the Linux file system hierarchy, the /opt directory is specifically reserved for optional, third-party software that is not managed by the default package manager. It is the perfect home for our manual Ant installation.
Move the extracted folder into /opt using elevated privileges:
sudo mv apache-ant-1.10.14 /opt/ant
By renaming the folder to simply ant, we make configuring our environment variables much easier, and future upgrades will simply require replacing the contents of this specific folder.
Step 4: Configure the Environment Variables
Your Linux operating system currently has no idea that Apache Ant exists in the /opt/ant directory. If you type ant right now, the terminal will return a “command not found” error.
We must tell the system where the software lives by configuring two environment variables: ANT_HOME and PATH. We will create a custom script inside the /etc/profile.d/ directory so these variables are applied globally to all users on the server.
Open a new shell script file using the Nano text editor:
sudo nano /etc/profile.d/ant.sh
Paste the following three lines into the empty file:
Plaintext
export ANT_HOME=/opt/ant
export PATH=ANTHOME/bin:{PATH}
Here is exactly what this code does. The first line creates a variable pointing to your installation folder. The second line takes the existing system PATH and prepends the Ant /bin folder to it. The /bin folder contains the actual executable files.
Save the file by pressing Ctrl + O, hit Enter, and exit Nano by pressing Ctrl + X.
Step 5: Make the Script Executable and Reload
You must grant Linux permission to execute your new configuration script.
sudo chmod +x /etc/profile.d/ant.sh
Finally, to apply these changes immediately without forcing a system reboot, use the source command to reload the profile data into your current terminal session.
source /etc/profile.d/ant.sh
Step 6: Verify the Manual Installation
Everything is now configured. Test the setup by asking the system to report the installed software version.
ant -version
You should see a clean output displaying the exact Apache Ant version you downloaded. Your manual installation is complete and ready for heavy development workloads.
Creating and Running Your First Build File
To truly verify that your installation is functioning flawlessly, you should create a minimal Ant build file and execute it.
Apache Ant relies on a configuration file named build.xml. By default, when you type the ant command, the software immediately looks for a file with this exact name in your current working directory.
Create a Project Directory
First, create a safe testing environment in your home directory and move inside it.
mkdir ~/ant-test
cd ~/ant-test
Draft the build.xml File
Open your text editor to create the XML configuration file.
nano build.xml
Paste the following simple XML structure into the editor. This script simply tells Ant to print a success message to the terminal screen.
XML

<?xml version="1.0"?>
<project name="HelloAnt" default="info">
    <target name="info">
        <echo>Apache Ant is working perfectly on this Linux system!</echo>
    </target>
</project>
Save the file and close your editor.
Execute the Build
While still inside the ~/ant-test directory, execute the tool by typing:
ant
Because we defined “info” as the default target in our XML file, Ant will automatically execute the instructions within that block. Your terminal should output a bold “BUILD SUCCESSFUL” message along with your custom echoed text and the total time it took to complete the task.
Troubleshooting Common Linux Ant Errors
Even with a careful installation, environment specific issues can disrupt your workflow. If you encounter errors, consult this troubleshooting matrix before wiping your installation.
| Error Message | Root Cause | Immediate Solution |
| “Command ‘ant’ not found” | The system PATH is incorrect or the shell has not been reloaded. | Run source /etc/profile.d/ant.sh again. Verify the /opt/ant/bin path actually exists. |
| “JAVA_HOME is not set” | Ant cannot locate your JDK installation. | Find your Java path (usually /usr/lib/jvm/…) and export it as JAVA_HOME in your /etc/profile.d/ant.sh file. |
| “Permission denied” during build | The user running Ant lacks write permissions in the project directory. | Run chmod or chown on your project folder to grant your current user full read/write access. Avoid running Ant as the root user. |
| “Buildfile: build.xml does not exist” | You are running the command in the wrong directory. | Ensure you use the cd command to navigate directly into the folder containing your build.xml file before running the tool. |
Setting up a robust build environment is the foundation of reliable software engineering. By mastering both package manager installations and manual binary configurations, you ensure your Linux servers remain agile, predictable, and ready to handle complex compilation tasks at a moment’s notice.
Frequently Asked Questions (FAQs)
1. Do I need to uninstall the package manager version of Ant before installing it manually?
Yes. If you previously installed Ant using apt or yum, you should remove it before manually placing files in the /opt directory. Having two different versions installed simultaneously will cause path conflicts. Run sudo apt remove ant to clear the old version first.
2. Can I use Apache Ant to build languages other than Java?
While heavily optimized for Java, Ant is technically language agnostic. You can write custom XML tasks to execute shell scripts, compile C++ code using GCC, or move Python files. However, specialized tools are usually better suited for non-Java languages.
3. Why do I get a warning about tools.jar missing?
This error occurs when Ant detects a Java Runtime Environment (JRE) instead of a Java Development Kit (JDK). The tools.jar file contains the actual Java compiler. You must install the full JDK package for your distribution to resolve this.
4. How do I update a manually installed version of Apache Ant?
Updating is incredibly simple. Download the newest binary .tar.gz file, extract it, and replace the contents of your /opt/ant directory with the new files. Because your environment variables point to the generic /opt/ant path, no further configuration is required.
Ready to automate your deployment pipelines? Share this guide with your development team, or drop a comment below if you run into any unique errors while writing your first XML build script!